When Siri for Mac was first announced at WWDC 2016 the first question I asked myself whether it would be available as a voice command. That proved not to be the case, at least not by default, so here is how you can create a dictation trigger to summon Siri on your Mac using the “Hey Siri” command. You can watch the whole video on YouTube.
How to enable Siri using “Hey Siri” command on your Mac
- Open System Preferences
The System Preferences icon can normally be found in the dock, or you can use Spotlight to search for it.


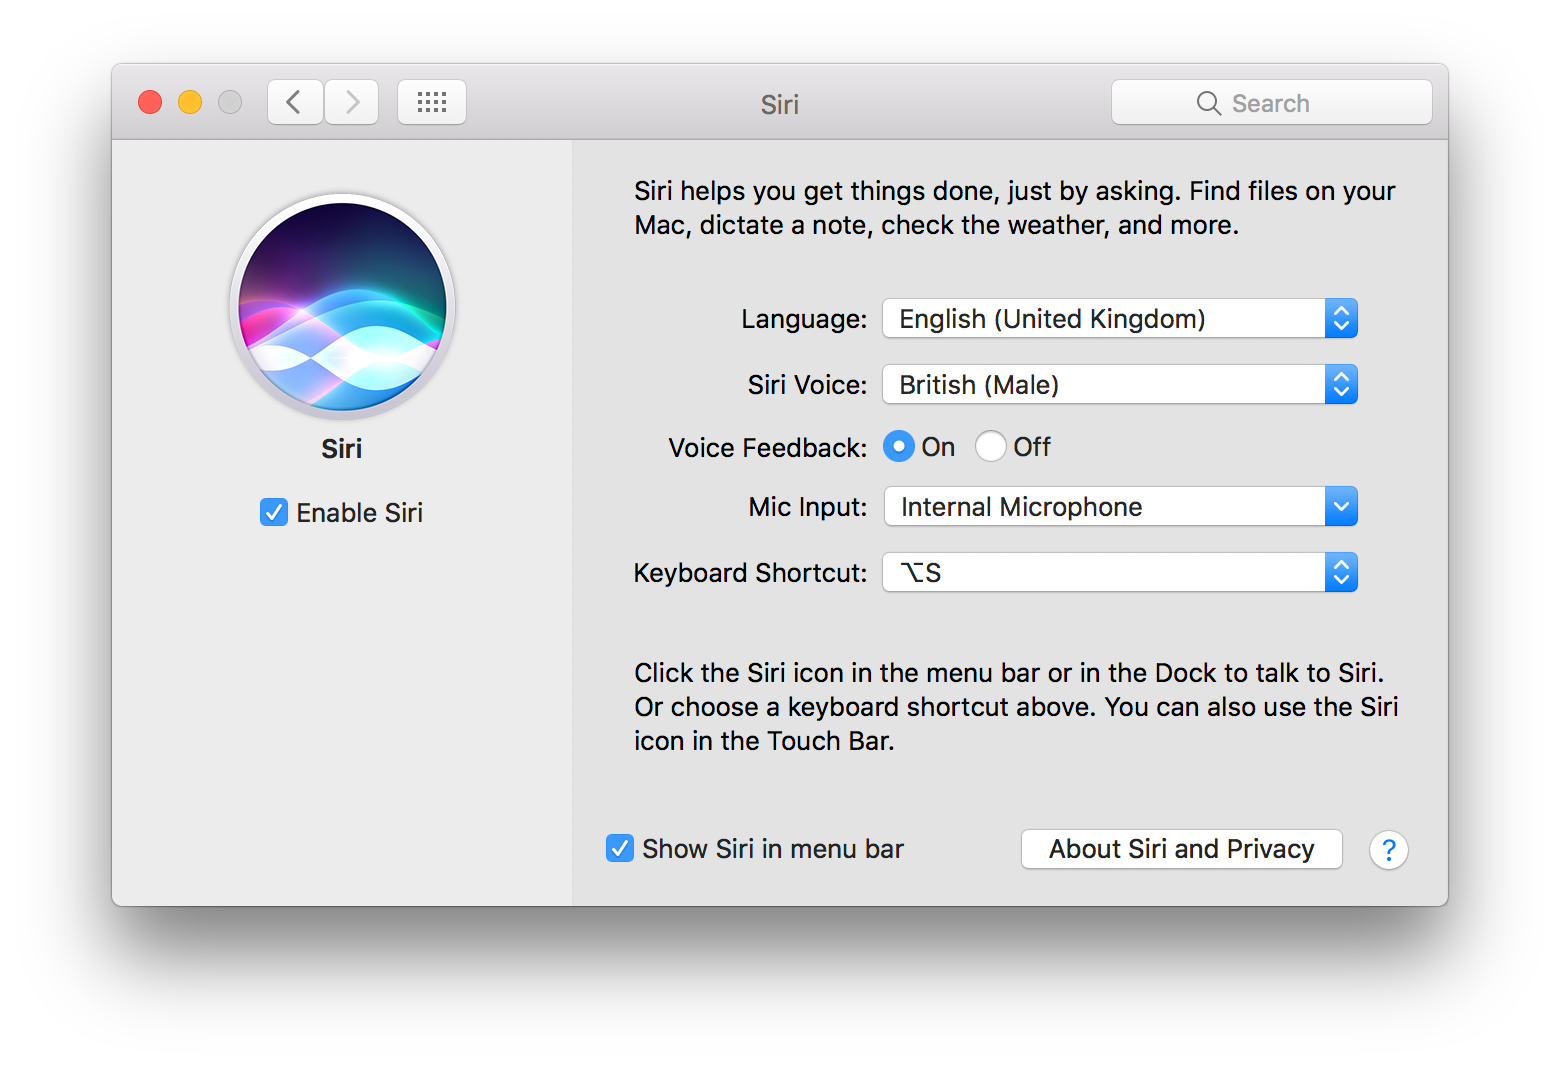
- Select Siri and choose “Press Fn (Function) Space” as the Keyboard Shortcut for triggering Siri. Alternatively you may customise the shortcut. I chose Option+S. Note down your shortcut as you will need to perform it later.

- Go back to the main window in System Preferences and make sure you have Dictation enabled under Keyboard -> Dictation.

- Go back to the main window in System Preferences and choose the Accessibility option. Scroll down in the right panel and select Dictation under Interacting.
- Check Enable the dictation keyword phrase
- Replace the word Computer with Hey

- Click Dictation Commands… at the top of the window.
- Enable Advanced commands and press the “+” button just above the check to create a new custom command.

- Call it Siri if you want your trigger to be “Hey Siri” just like on iPhone, iPad or Apple Watch.
- Perform the keyboard shortcut that matches Siri’s Keyboard Shortcut in step 2. This could be the Fn (Function) Space combo or a custom combination. I chose Option + S.

- Click Done and test it out.

Good luck triggering all your other devices with the command! One suggestion would be to change the trigger word – “Hey”- to something else.